Anti-Aliasing and DLSS Blender (ReShade Preset)
Introduction
Hello! I tried several of the re-shades on the website and most deviated too far from the base game's color palette, or just did not look great for me. I made my own preset that aims primarily to make blur from DLSS/TAA a thing of the past. Fully disabling TAA (which you can do with cyberpunk tweaker: https://www.nexusmods.com/cyberpunk2077/mods/81) will break DLSS, and obviously give you rougher edges, especially on lower resolutions.
I have included a version that also includes a simulated HDR look. Community feedback said most people do not want this, so the primary version will be the non-HDR version now. I highly recommend pairing this with Performance Overhaul if on an AMD CPU: https://www.nexusmods.com/cyberpunk2077/mods/107.
I tuned this on my Acer Predator X34P ultrawide IPS display with the following settings:
- 3440x1440
- DLSS Balanced
- RT Lighting Ultra
- NVIDIA Digital Vibrance 65%
- Low Motion Blur
- All other in game graphical settings max.
Your results will likely vary if you are on a different panel type, lower resolution, not playing with ray tracing, etc....
Performance Impact
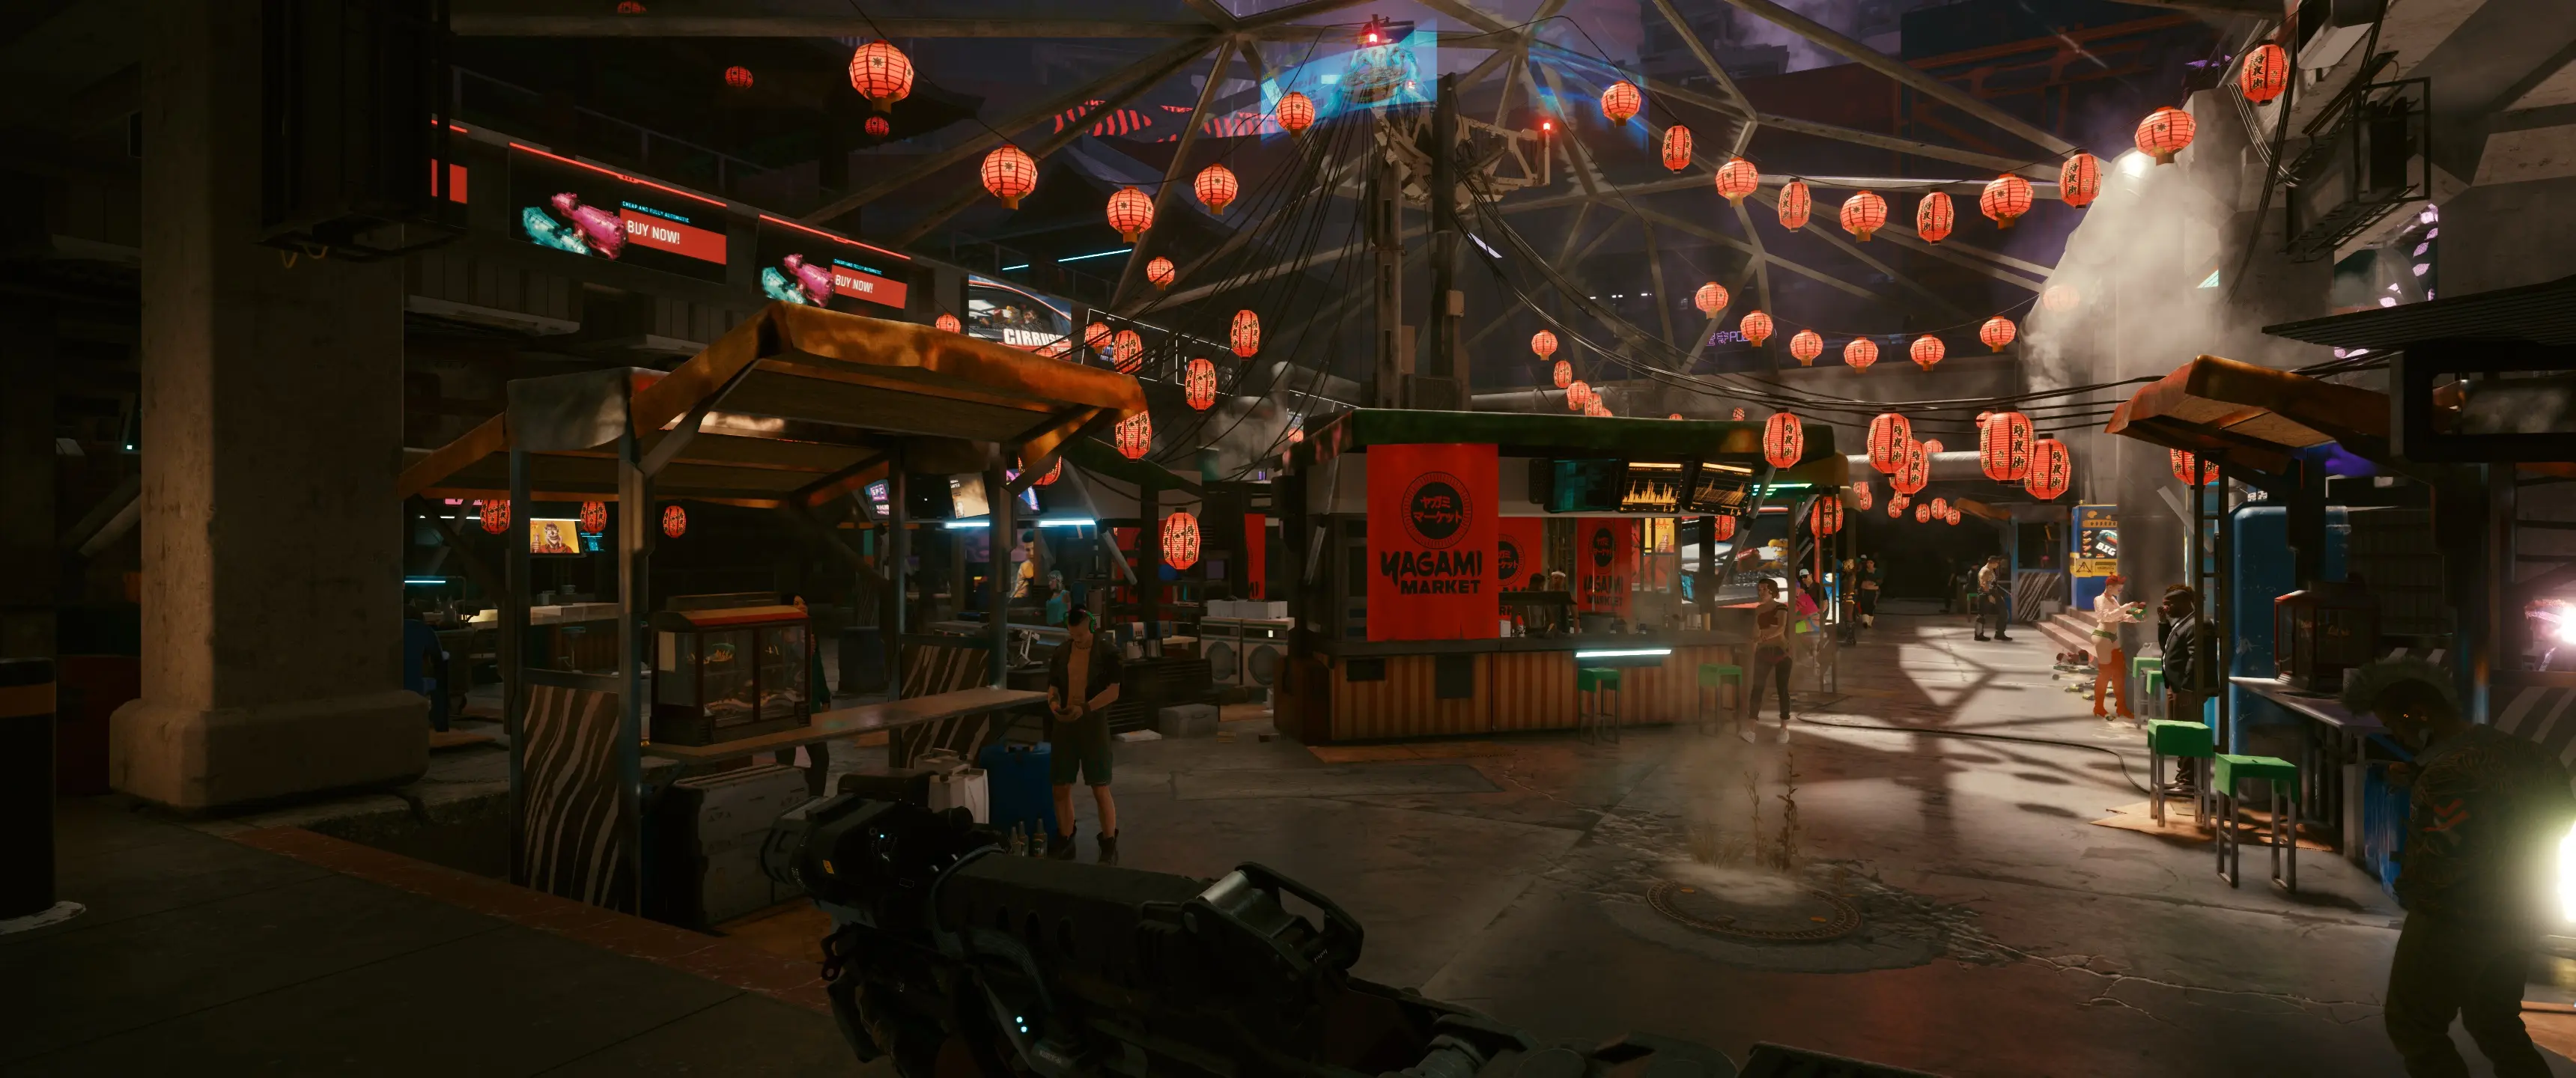
I like to use the cherry blossom market to test since this is a complex scene with lots of light sources, shadows, people and generally it is just a very demanding scene to render. There are much more demanding scenes, but this one is right next to a fast travel point. In this location the shader preset drops me from 60 FPS to 53 FPS (I have decided I am willing to play as low as 50 FPS given how good the game looks). In general you can expect up to a 15% performance cost at the most. I have now added a second preset to the zip that will disable Clarity and levels by default. This reduces the FPS cost to 5% or less.
If you do take too much of a hit, I recommend disabling shaders in the following order to get the best image quality with the lowest FPS cost:
- Clarity - By far the highest FPS cost, and with the sharpening from the other shaders you will still have a good quality image without it.
- Levels - Has a minimal impact on the overall image quality in most cases, will get you 1-2 FPS back.
- Liftgammagain - This improves colors, but you will get 2-3 FPS back disabling it without losing any sharpness.
- HDR (if enabled) - The last one that has any real performance impact that is not central to the goal of the reshade. Will significantly reduce color quality though.
Basically I layered multiple sharpening filters to achieve the sharpest possible image with the least over-sharpening artifacts. If you simply turn up sharpening from one source it has a tendency to make faces and distant objects look horrible.
Install
- Install the latest version of ReShade: https://reshade.me/
- Unzip the .zip file to your bin\x64 folder. Ex. "C:\Program Files (x86)\GOG Galaxy\Games\Cyberpunk 2077\bin\x64". You may be asked to overwrite files if you already installed shader packages when you installed ReShade.
- Disable any other sharpening sources you may have been using, they will cause extreme over-sharpening when used in conjunction with this reshade. Ex. - Nvidia control panel sharpening, Fidelity CX CAS (can just turn down/off the sharpening slider), Geforce overlay sharpening, etc.
- Boot up the game and press Home. Select AA Blender.ini from the drop down at the top.
- Burn this city!
Known Issues1. This preset was tuned for 3440x1440, it will likely oversharpen at lower resolutions. I expect it will probably look fine on a 2k display, but at 1080p it is too strong. Try lowering the Luma Sharpen strength, or just disabling Luma Sharpen entirely if your image looks grainy. It should look fine on a 4k display, though you may actually be able to increase the sharpening, depending on what DLSS setting you are at.
Results
Including one before and after here, and I will have more in the media page. I am using photo mode just so we get the exact same scene and lighting. Some photos will be reduced quality due to the 8MB file size limit on Nexus. I am uploading all the unedited photos to this album: https://ibb.co/album/d7hmk7.
No Filters:
AA Blender HDR:
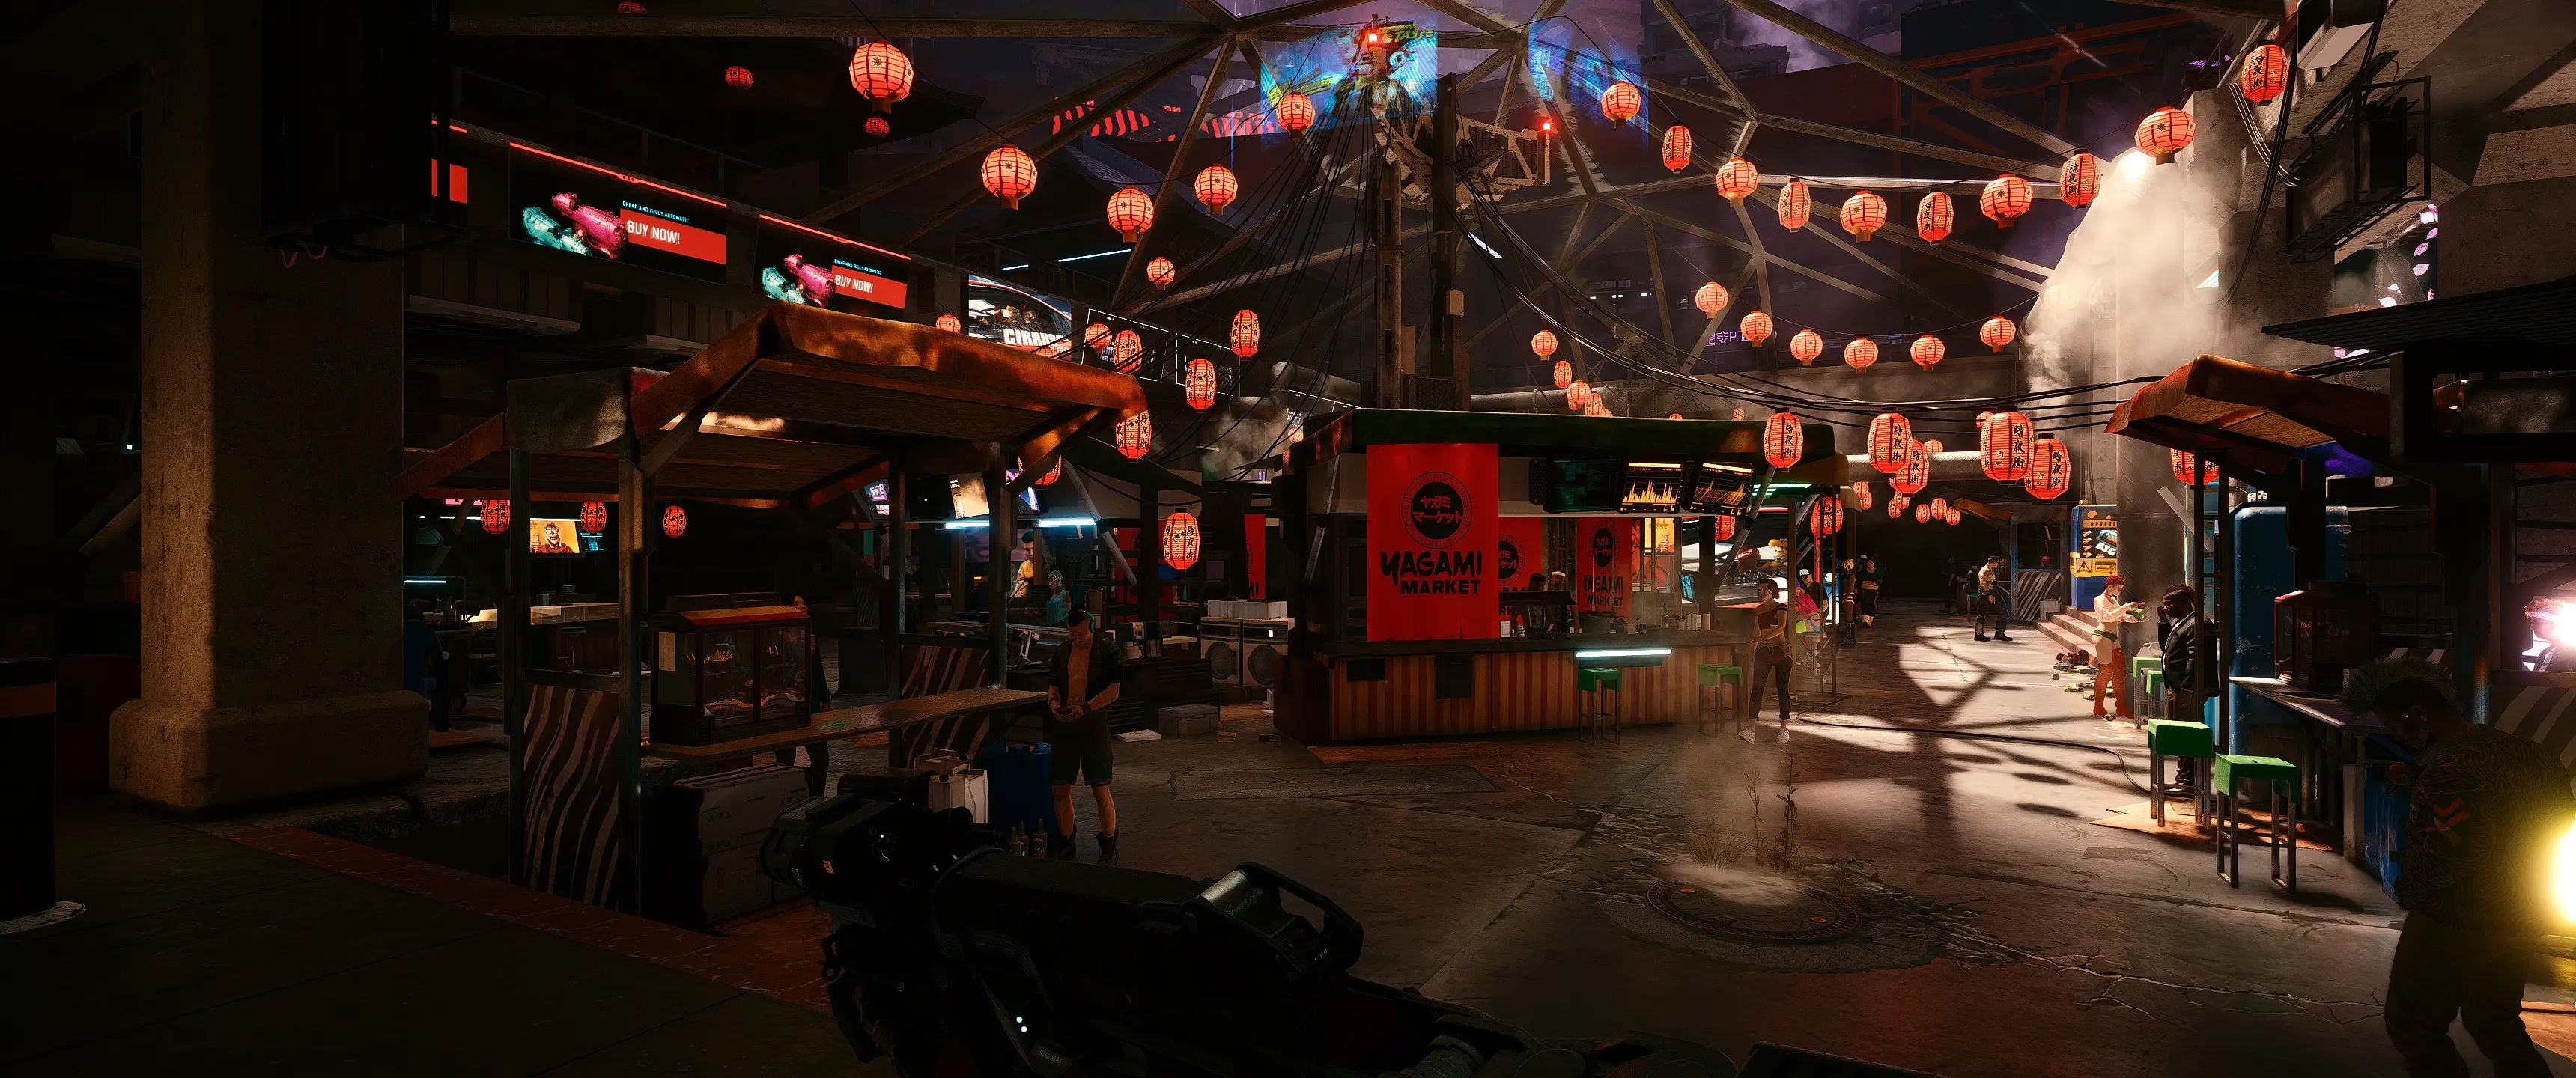
AA Blender No HDR:

Hope you enjoy playing with both quality and performance. Take advantage of those DLSS settings better with these filters improving DLSS past native resolution (kinda)!